DIY Energy-Saving Home Improvements That Lower Bills
Discover practical DIY projects to cut energy costs, from insulation upgrades to smart thermostat hacks. Learn step-by-step tips that boost comfort and save money.
DIY Energy-Saving Home Improvements That Lower Bills
Modern homeowners are constantly looking for ways to reduce monthly expenses, and energy costs are a major part of the budget. Fortunately, many effective upgrades can be done on a DIY basis, saving money without compromising comfort. Below are proven, budget-friendly projects that cut energy usage and lower your utility bills.
1. Upgrade to Energy‑Star Light Bulbs
Replacing incandescent bulbs with LED or Energy‑Star LED replacements is the simplest energy saver. LEDs use up to 80% less energy and last 25 times longer, meaning fewer replacements and less electricity consumption. A quick swap of every bulb in the house can reduce lighting costs by 10–15%.
2. Install a Programmable or Smart Thermostat
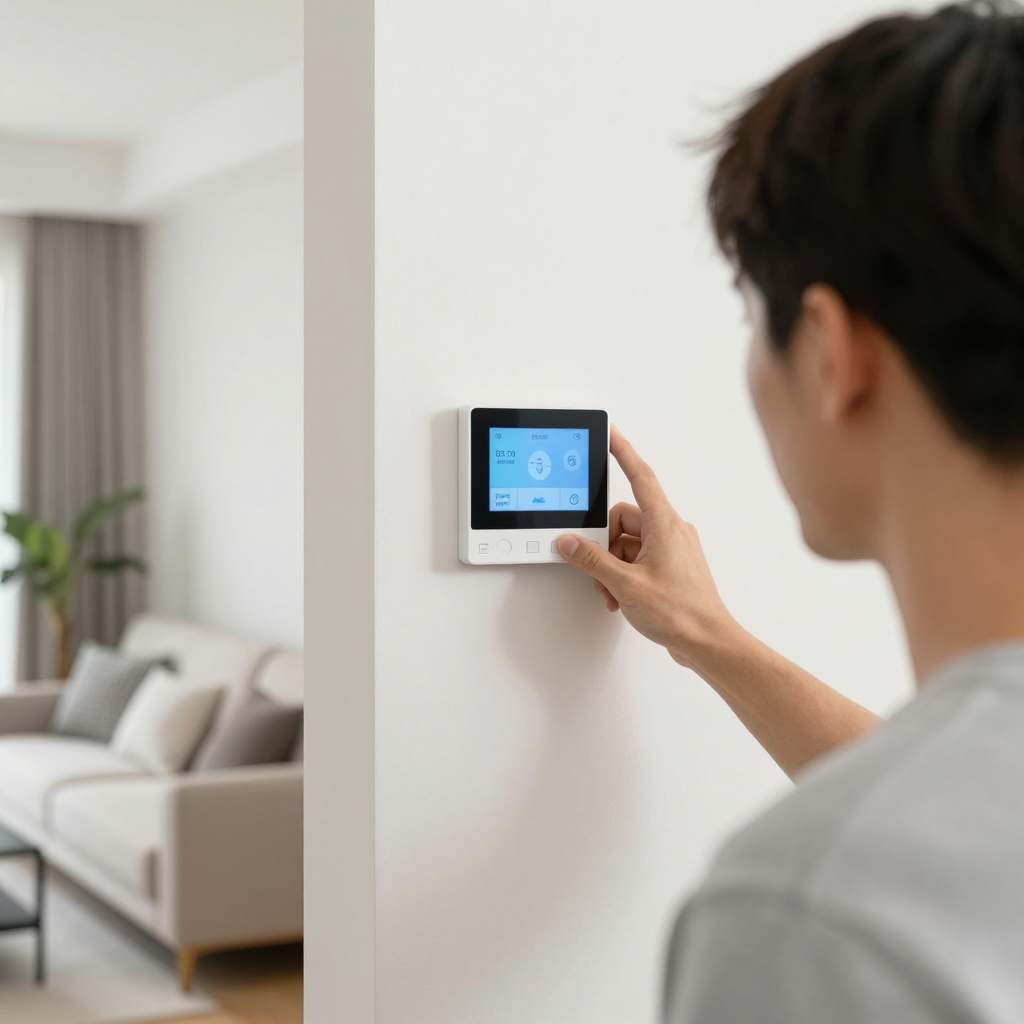
Thermostats control the majority of a home’s heating and cooling load. A programmable thermostat allows you to set temperature schedules that match your daily routine, preventing wasteful heating or cooling when you’re not home. Smart thermostats take it further by learning habits, integrating with smart devices, and providing detailed energy reports. Installing one is as simple as plugging in and connecting to Wi‑Fi.
Step‑by‑step installation
1. Turn off power at the breaker.
2. Remove the old thermostat faceplate.
3. Connect the new thermostat’s wires to the corresponding terminals.
4. Mount the base, attach the display, and restore power.
5. Follow the on‑screen setup to connect to your network.
3. Seal Drafts and Improve Insulation
Air leaks can account for up to 25% of a home’s heating and cooling losses. Start with weatherstripping around doors and windows, then add caulk to seal gaps around outlets and baseboards. For deeper insulation, add blown‑in cellulose to attics or use spray foam in crawl spaces. Even a small increase in R‑value can yield noticeable savings.
4. Replace Old Windows with Double‑Glazed Units
Single‑pane windows are a major source of heat loss. Installing double‑glazed or low‑E coated windows reduces transmission of heat by up to 50%. While the upfront cost is higher, the long‑term savings on heating and cooling outweigh the expense.
5. Add a Solar Water Heater or Solar Panels
Solar water heaters can cut hot‑water bills by up to 50%, and a small solar panel array can offset a significant portion of your electricity usage. Both systems are increasingly affordable thanks to federal and state incentives, and many homeowners find the return on investment within five to seven years.
6. Use Ceiling Fans Wisely
Ceiling fans circulate air, allowing you to set the thermostat a few degrees higher without discomfort. In summer, run the fan clockwise to push cool air down; in winter, reverse it to pull warm air up. This simple adjustment can lower cooling and heating costs by 10–15%.
7. Install Low‑Flow Fixtures
Low‑flow showerheads, faucets, and toilets reduce water usage while maintaining pressure. Each gallon saved translates into less energy used to heat water. A modest upgrade can cut water heating expenses by 10–20%.
8. Create a Ventilation Strategy
Proper ventilation prevents moisture buildup and keeps indoor air quality high. Install a heat‑recovery ventilator (HRV) or energy recovery ventilator (ERV) to exchange stale air for fresh air without losing heat. This is especially valuable in tightly sealed homes.
9. Paint Interior Walls with Cool‑Tone Paint
Cool‑tone paints reflect more light and reduce heat absorption from windows. Light-colored walls can lower indoor temperatures during hot months, decreasing cooling loads by a few percent.
10. Maintain Your HVAC System
Regular filter changes, annual tune‑ups, and cleaning ducts keep your heating and cooling system running efficiently. A well‑maintained HVAC unit uses less energy, lasts longer, and provides better indoor comfort.
By tackling these projects, homeowners can significantly reduce energy consumption, lower utility bills, and create a more comfortable living environment—all while staying within a DIY budget.
What's Your Reaction?